Create New Purchase Order
The Purchase Order allows the center to clearly communicate purchase requirements to the vendor and track the status and costs of ordered products.
2. Click  New
New
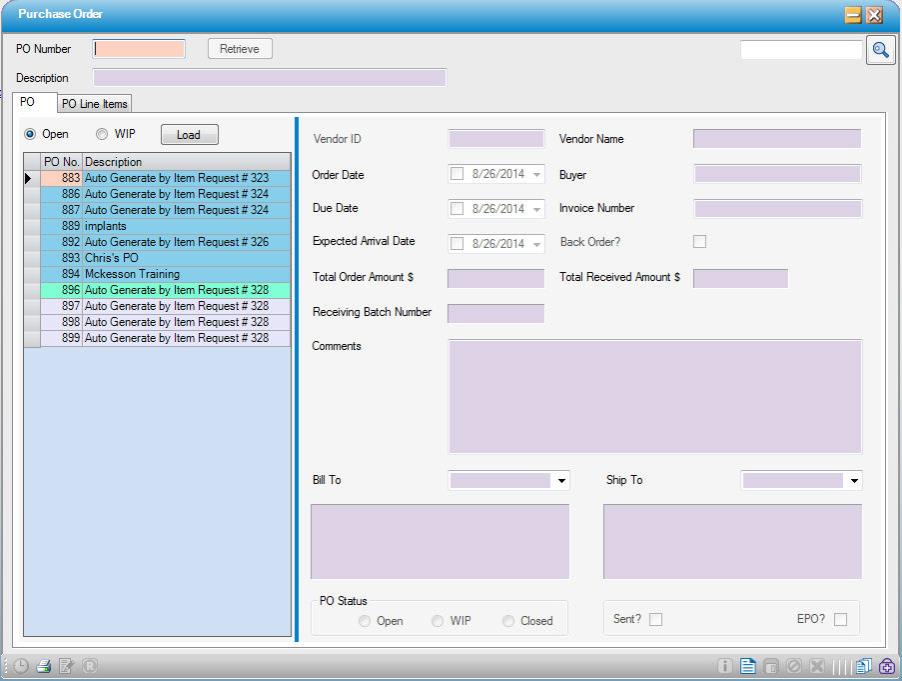
3. Enter the following  required fields. These will print on the PO.
- P.O. Number: must be unique. Based on center configuration, it may be created for automatically.
- Description: free text.
- Vendor ID: may type in ID or click on Vendor ID text to lookup vendor by name.
- Order Date: will default to today’s date, may be changed
- Ship to/ Bill to Address: will default, may be changed to another address available from the drop-down.
4. Enter the following  optional fields as desired. These will also print on the PO.
- Due Date: can run reports by this date.
- Expected Arrival Date: this is for the entire PO; individual items may also be assigned an expected arrival date.
- Buyer: This is a free-text field; up to 33 characters allowed.
- Invoice Number (Usually filled out on the receiving screen)
- Back Order?: This allows the center to track back-ordered items and should be used in conjunction with Expected Arrival Date.
- Comments: free text.
- Approved?: depending on Center Configuration, this field may need to be checked before a PO. can be received.
5. Enter applicable Enter Purchase Order Line Items at this time.
6. Click  Save
Save
The following fields are system generated:
- Total Ordered Amount: This prints on the bottom of the PO.
- Total Received Amount: This does not print on the PO.
- Receiving Batch Number: This does not print on the PO.